Concrete Walkway Installation: A Step-by-Step Guide for Homeowners in 2025
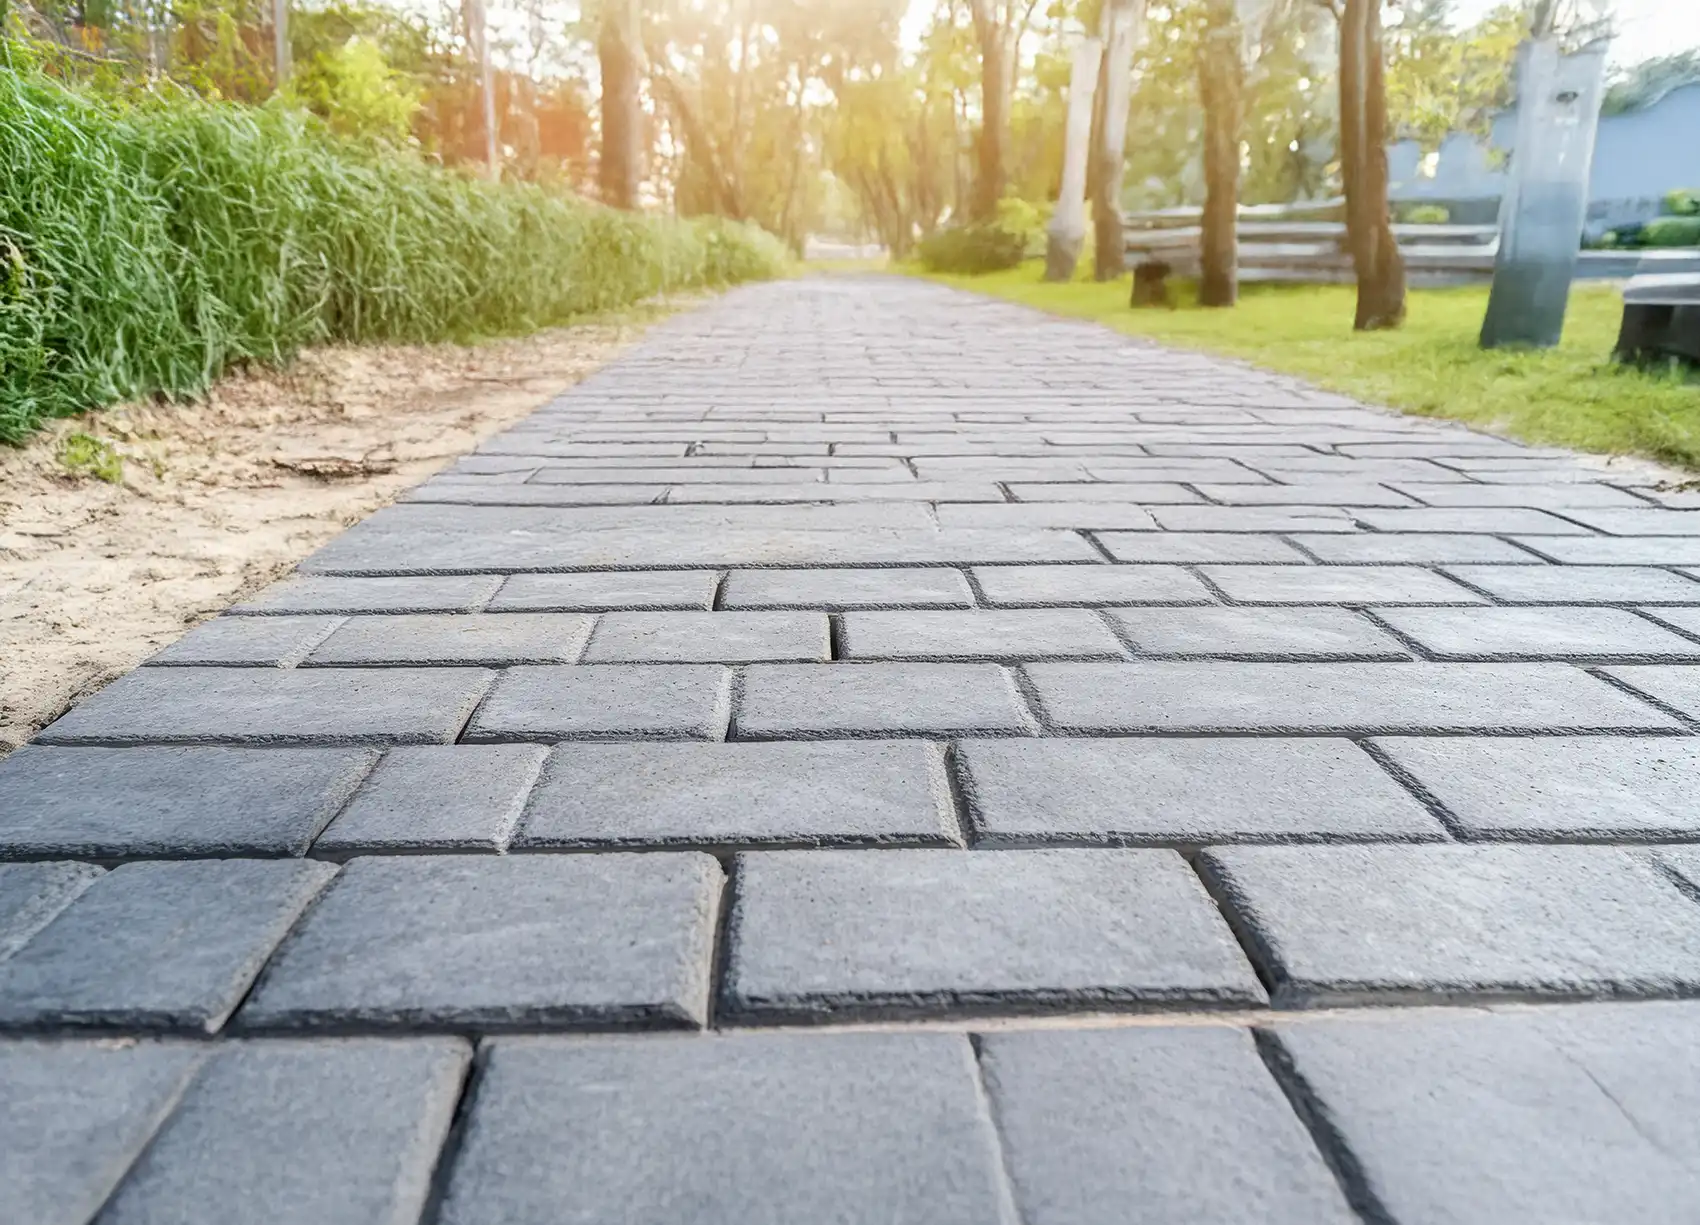
A well-installed concrete walkway adds beauty, function, and long-term value to your home. Whether it’s a front entry path or a winding garden trail, the right concrete design makes your space safer and more welcoming. At Material Masters Concrete, we help homeowners across Olympia, Centralia, and surrounding Western Washington areas install durable, stylish walkways that last for decades.
Why Choose a Concrete Walkway?
- Durability: Built to withstand foot traffic and weather
- Design Flexibility: Choose from colors, finishes, and textures
- Cost-Effective: Cheaper than stone or brick
- Low Maintenance: Requires only occasional sealing and cleaning
Tools & Materials You’ll Need:
- Concrete mix (3,000–4,000 PSI)
- Wood/plastic forms
- Rebar or wire mesh
- Gravel base (4″ compacted)
- Trowel, screed, float, shovel
- Measuring tape, level
- Safety gear (gloves, goggles, boots)
Step-by-Step Concrete Walkway Installation Guide
1. Plan the Path
Sketch the route—go straight for modern vibes or curved for a natural look. Typical width is 3–4 feet.
Tip: Use stakes and string to mark your outline and double-check local codes if you’re in cities like Lacey or Tumwater.
2. Choose Your Style
Concrete doesn’t have to be plain!
Popular 2025 options include:
- Broom finish: For slip resistance
- Stamped concrete: Mimics cobblestone, slate, or brick
- Stained concrete: Adds warm, earthy tones
Stamped concrete walkways are trending in Olympia and Shelton, adding charm with minimal upkeep.
3. Prep the Site
Excavate the path 6–8 inches deep.
- Remove grass, soil, rocks
- Add a 4-inch gravel base
- Compact thoroughly for drainage
This prevents sinking or cracking over time—especially crucial in Centralia‘s wetter climate.
4. Set Forms and Reinforcement
Install wood or plastic forms with a slight slope (1/4 inch per foot) for drainage.
Add rebar or wire mesh for strength—especially for walkways with heavier foot traffic or in areas with freeze-thaw cycles like Ocean Shores.
5. Pour and Finish the Concrete
Pour your concrete and spread it evenly. Use:
- Screed to level
- Float to smooth
- Edger for clean borders
Add decorative stamps if desired. Let cure for 3–7 days, covered with plastic to prevent premature drying.
6. Seal and Maintain
After curing:
- Apply a water-based eco sealer
- Re-seal every 2–3 years
- Avoid rock salt in winter
- Sweep regularly to prevent staining
Walkways in Aberdeen or Bremerton benefit from sealing due to coastal moisture exposure.
When to Hire a Pro
- Sloped or uneven land
- Drainage challenges
- Decorative or stamped finishes
- Complex curves or multi-section layouts
Material Masters Concrete ensures expert craftsmanship from planning to sealing.
Why Choose Material Masters Concrete?
We specialize in:
- Functional + stylish walkway designs
- Decorative stamped concrete
- Full-service installation and repair
- Service across Centralia, Olympia, Shelton, Aberdeen, and more
Western Washington Contractor
Call: (360) 429-0252
Website: materialmastersconcrete.com
Frequently Asked Questions
Properly installed and maintained walkways can last 25–30 years, even in rainy Washington climates.
Stamped concrete in slate or cobblestone finishes adds elegance and traction near your front entrance.
Excavate 6–8 inches, including 4 inches for gravel and 4 inches for concrete.
Yes, but hiring a pro ensures better drainage, durability, and decorative finish—especially on slopes.
Yes! We work across Olympia, Shelton, Westport, Lacey, Tumwater, and more.